Bobby Knight, one of the most successful college basketball coaches of all-time, once said, “The key is not the ‘will to win’… everybody has that. It is the will to prepare to win that is important.” Since your will to win is already there, we’ve created a 60 Minute Practice Plan that will allow you to be prepared come game time.
Most of these drills can either be done alone or with a small group of friends. We’ve arranged this 60-minute basketball practice session into three different sections so you and your friends know exactly what drills you’ll be doing and why, as well as the skills you’ll be developing and the amount of time you need to dedicate to each block.
HOW TO FUEL UP
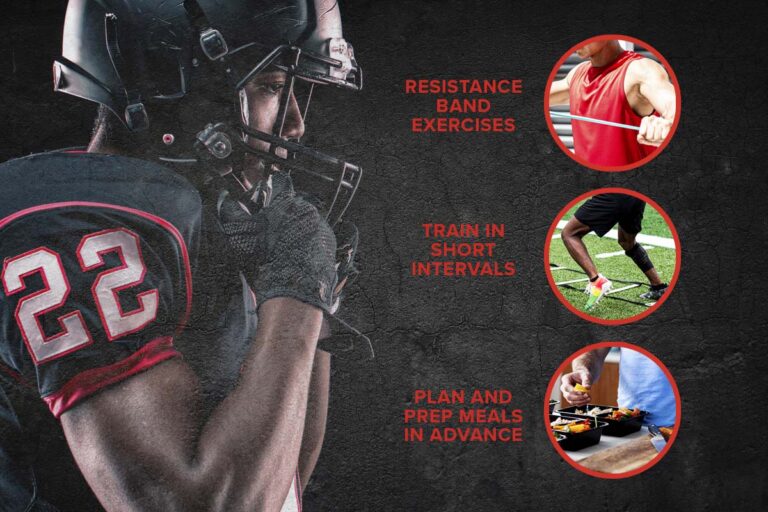
Prior to practice, it’s important to make sure that your body and mind are well rested and ready to go. That’s why it’s crucial to make sure that you’re getting the recommended 7 to 9 hours of sleep per night. And before getting into the drills, add some dynamic stretches to your pre-practice warm-up so your muscles are prepared. \
If you’re looking to enhance your athletic performance, there are sports nutrition supplements like Six Star’s Pre-Workout Explosion that offer extreme energy and focus with a scientifically researched dose of caffeine. Now that you’re focused and energized, it’s time to up the intensity and get right into the drills.
CONDITIONING & DRIBBLING DRILLS (20 MINUTES)
Close games are often won late in the game by the team that has the best physical conditioning, When players are tired, key shots come up short, team defense suffers, and there’s usually a lack of hustle. Basketball conditioning drills may also prevent injuries like muscle strains and pulls.
Dedicate about 20 minutes to your conditioning and dribbling drills, choosing how much time you’d like to set aside for each drill. All of these drills can either be done alone, or in small groups of 2-3 athletes if you’re practicing with friends.
DRILL 1: FULL-COURT DRIBBLING & LAYUPS
Start at the baseline, dribble the length of the court, and then shoot a layup. Then grab your rebound, dribble, and run the length of the court where you’ll shoot another layup at the other end of the floor. Continue doing this full-court dribbling and layup drill until you hit a certain number of layups – let’s say 10, or you can set a time limit. If you’re doing this drill with a friend, start on opposite sides of the court and see who can complete 10 layups first. You can have the person who doesn’t win do 10 push-ups after the drill.
DRILL 2: BALL DRIBBLING
2-ball dribbling drills combine both cardio and ball handling and will improve your coordination and dribbling skills. So, with a basketball in each hand, dribble the length of the court and then back. You can alternate the way you dribble – maybe dribble the ball high in one hand and low in the other, or you can also go through cones while dribbling both balls.
DRILL 3: ARC LAYUPS
The Arc Layup Drill is a way to simulate game situations where you will be coming from different angles to shoot a layup. To do this drill, set up 5 cones around the three-point line and then dribble with your right hand around the first cone and then do a right-handed layup. After you make the layup around the first cone, then go to the next one and continue dribbling and shooting right handed. Once you’ve completed all of your right-handed lay-ups, dribbling around the 5 different cones on the three-point line, go back to each cone, but this time dribble and shoot your layups left-handed.
SHOOTING DRILLS (20 MINUTES)
DRILL 1: 15 SHOOTING SPOTS INDIVIDUAL DRILL
This solo shooting drill requires you to hit shots from these 15 shooting spots. The key to this drill is shooting jump shots the same way you would in a game – using good form, getting your feet set, having good balance, and not drifting sideways. Start at the first spot on the 15 shooting spots list and hit 5 shots. Then move to the opposite side and make 5 more shots from spot #2. Continue making the 5 shots in each spot until you’ve hit the number of shots for spots #1 through #5. Then make 5 free throws and repeat the 5-spots drill for spots #6 through #10. Shoot (and make) 5 more free throws and then make 5 shots from spots #11 through #15. Then make 5 more free throws. If you miss any shots, rebound the ball and keep shooting until you put it in the basket.
DRILL 2: 2-MAN SHOOTING DRILL – CATCH AND SHOOT
For those of you who prefer to workout with a buddy, you can do this 2-man catch and shoot drill. Player #1 will make a chest pass to Player #2 with Player #1 following the pass and closing out on Player #2. (Player #1 will not try to block the shot or fly by the shooter). Without dribbling, Player #2 will take the shot and follow it for a rebound. Then Player #2 will pass back out to Player #1 (switching positions this time around) and close-out on Player #1, who is now the shooter. After both players have taken their shots, you’ll move to a different position on the court. You can use these A-B-C-D-E positions on the court as you complete this drill, moving from spot A to B to C to D to E within the time that you’ve set for yourselves for this drill. After you’ve both completed shots at all those spots, go back around, but this time start shooting from position E and go from E to D to C to B to A. During this drill, it’s important to place an emphasis on good shooting technique. You should also try to pass and shoot at game speed.
PASSING DRILLS (20 MINUTES)
DRILL 1: BOUNCE PASS DRILL
This drill works on your bounce pass mechanics and will help you form good passing habits. Since you’re focusing on developing good pass mechanics and form, it’s important that you don’t just stand straight up when you and your partner are practicing bounce passes. So, stand 8 to 10 feet away from your partner, both of you starting in a low and athletic stance, ready to pass and receive the ball. The player with the ball is going to step forward and snap a bounce pass to their partner. The partner will receive the pass and then pass it back. Always make sure that you’re in a position to dribble, pass, and shoot while practicing your bounce passing, and make sure that the ball is three-quarters of the way down before it bounces. You can set a timer for this drill or do it for a certain number of repetitions.
DRILL 2: OVERHEAD PASS DRILL
The overhead pass is usually used when inbounding the ball to a teammate. Since this type of pass is intended for longer distances, stand 15 to 20 feet from your partner. When the drill starts, the player with the ball will step forward and make an overhead pass across the court to their partner. Once the other player catches the ball, they will make an overhead pass back. For more power, step into your pass, and also concentrate on throwing the pass on time and on target. You can do these overhead passes a certain number of times each or you can also set a timer.
DRILL 3: SOLO PASSING DRILL
Use tape to mark passing targets on a wall and then stand 10 feet away from the wall, practicing hitting the targets by using the different passes in your arsenal. You can switch it up between two-hand passes and one-hand passes, using your left and right hands. As you get better at passing, hitting your target with greater frequency, you can increase the distance from where you’re passing from, or practice passing off the dribble. Try to hit the target 10 times in a row for each pass that you’re doing. For example, if you’re doing chest passes, make sure you hit the target ten times with chest passes before switching to a one-handed pass. If you have a friend that you’re training with, you can have him or her play defense and stand in front of you. This will allow you to work on pivoting and protecting the ball from the defender as you make passes. You can switch spots after you each hit the tape 10 times with the pass you’re working on.
HOW TO COOL DOWN
At the end of your 60-minute practice session, make sure to give yourself time to cool down. Before your muscles have cooled completely though it’s important to do some static stretches. A proper cool down will allow your body to gradually return to its resting state and will reduce your chances of feeling dizzy or faint after exercise.
To support your recovery and also build muscle and increase strength, especially if you were lifting weights prior to your practice session, Six Star 100% Whey Protein Plus is the muscle and strength building nutrition that the pros trust post-workout. The American Masters of Taste, a prestigious panel of chefs, awarded Six Star 100% Whey Protein Plus the Gold Medal for Superior Taste against all other value brands in America.